How to get lots of reviews from your customers as fast as possible? The answer is simple - ask customers for reviews. Wiremo Manual Review Requrest (*MRR) campaign is the easiest way to do this.
Ask customers for reviews using Wiremo *MRR Campaigns
There are two steps to set up an *MRR campaign to ask customers for reviews. First, you need to create your email segments – a list of your customers with their names and email addresses. And the second step is to create a *MRR campaign using the existing segments.
I. Create email segments
Wiremo segments are the individual email groups you create and then use for your review request campaigns.
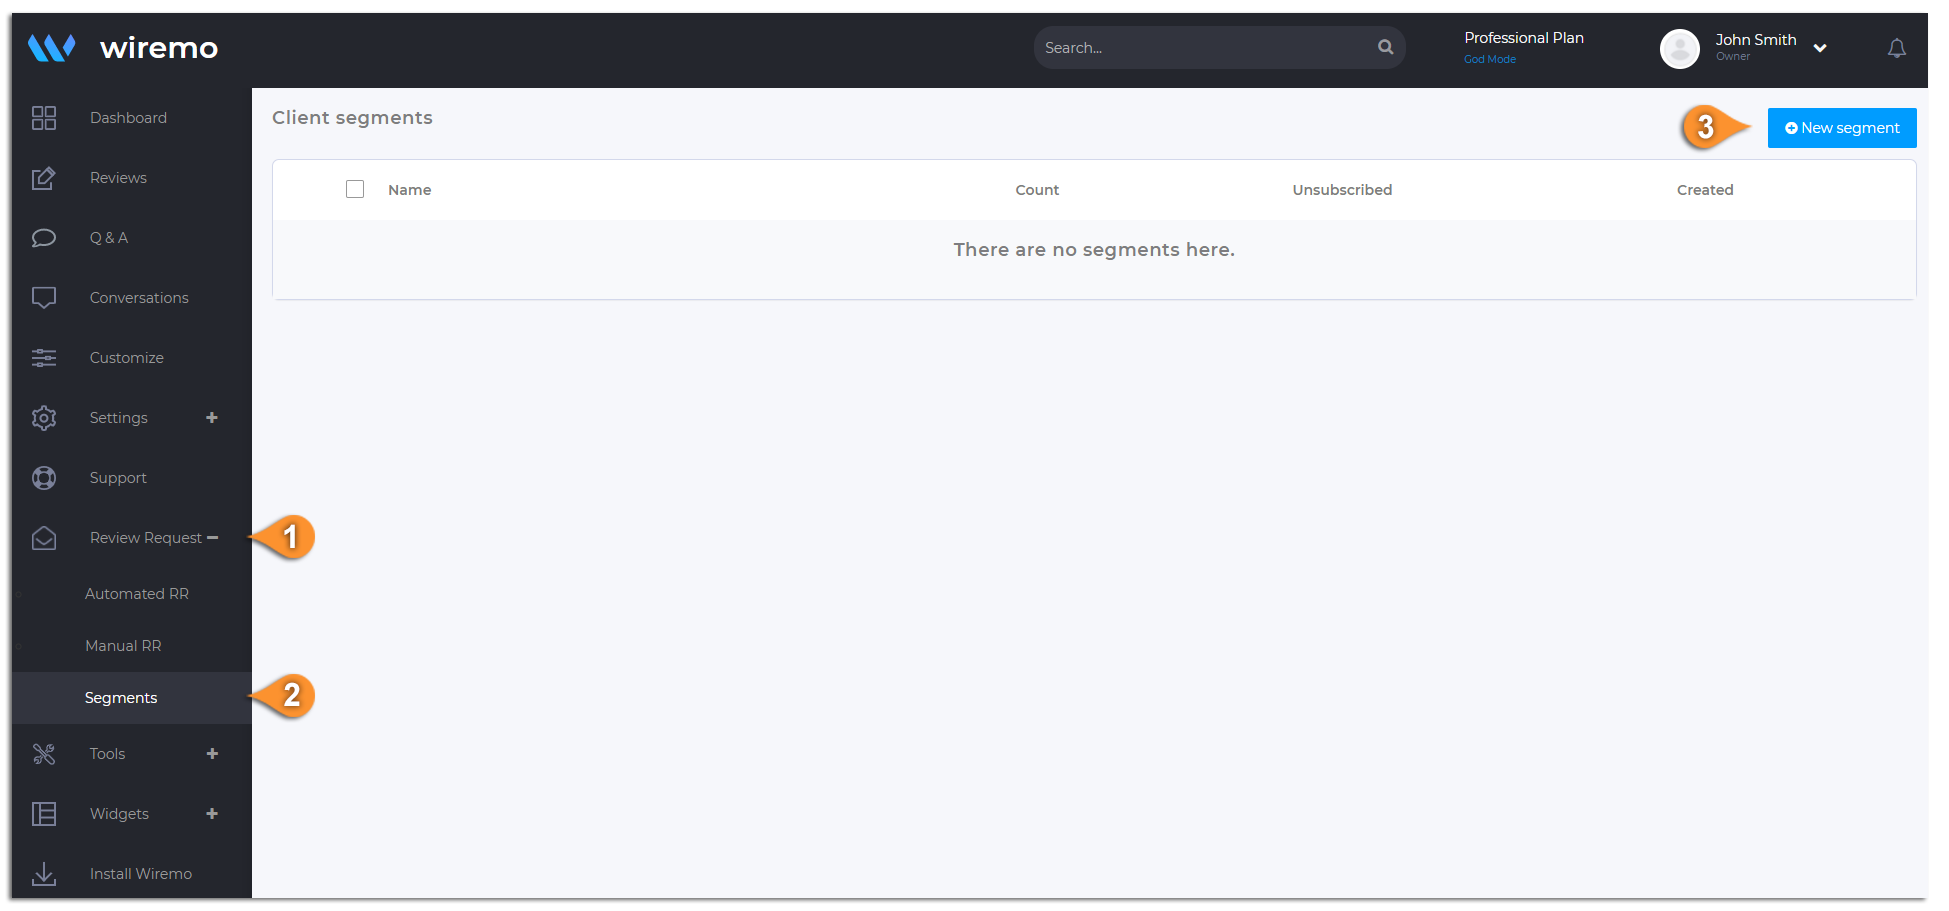
1. To create your email segment, you need to log in to the Wiremo Dashboard. In the main menu, click on Review Request (pin 1) and then select Segments (pin 2). Now click the "New segment" button (pin 3).
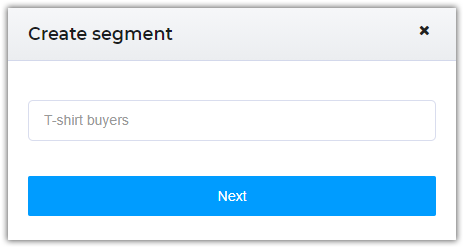
2. Type a name for your new segment. We recommend you use a unique name that distinguishes it from any other. For example "T-shirt buyers".
3. Now you need to add clients to your segment. To do this, click the "Add clients" button.

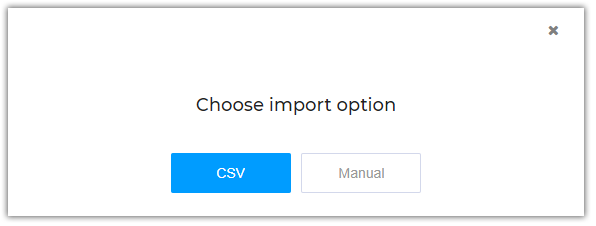
4. Choose how you want to import your clients. If you already have a list in the CSV format, then you can easily upload your list in a few clicks. You also have the options of adding your customers’ details, one by one, using the manual import.
5. Once you finished importing clients to your new segment, you can start setting up your *MRR campaign.
II. Create *MRR Campaign
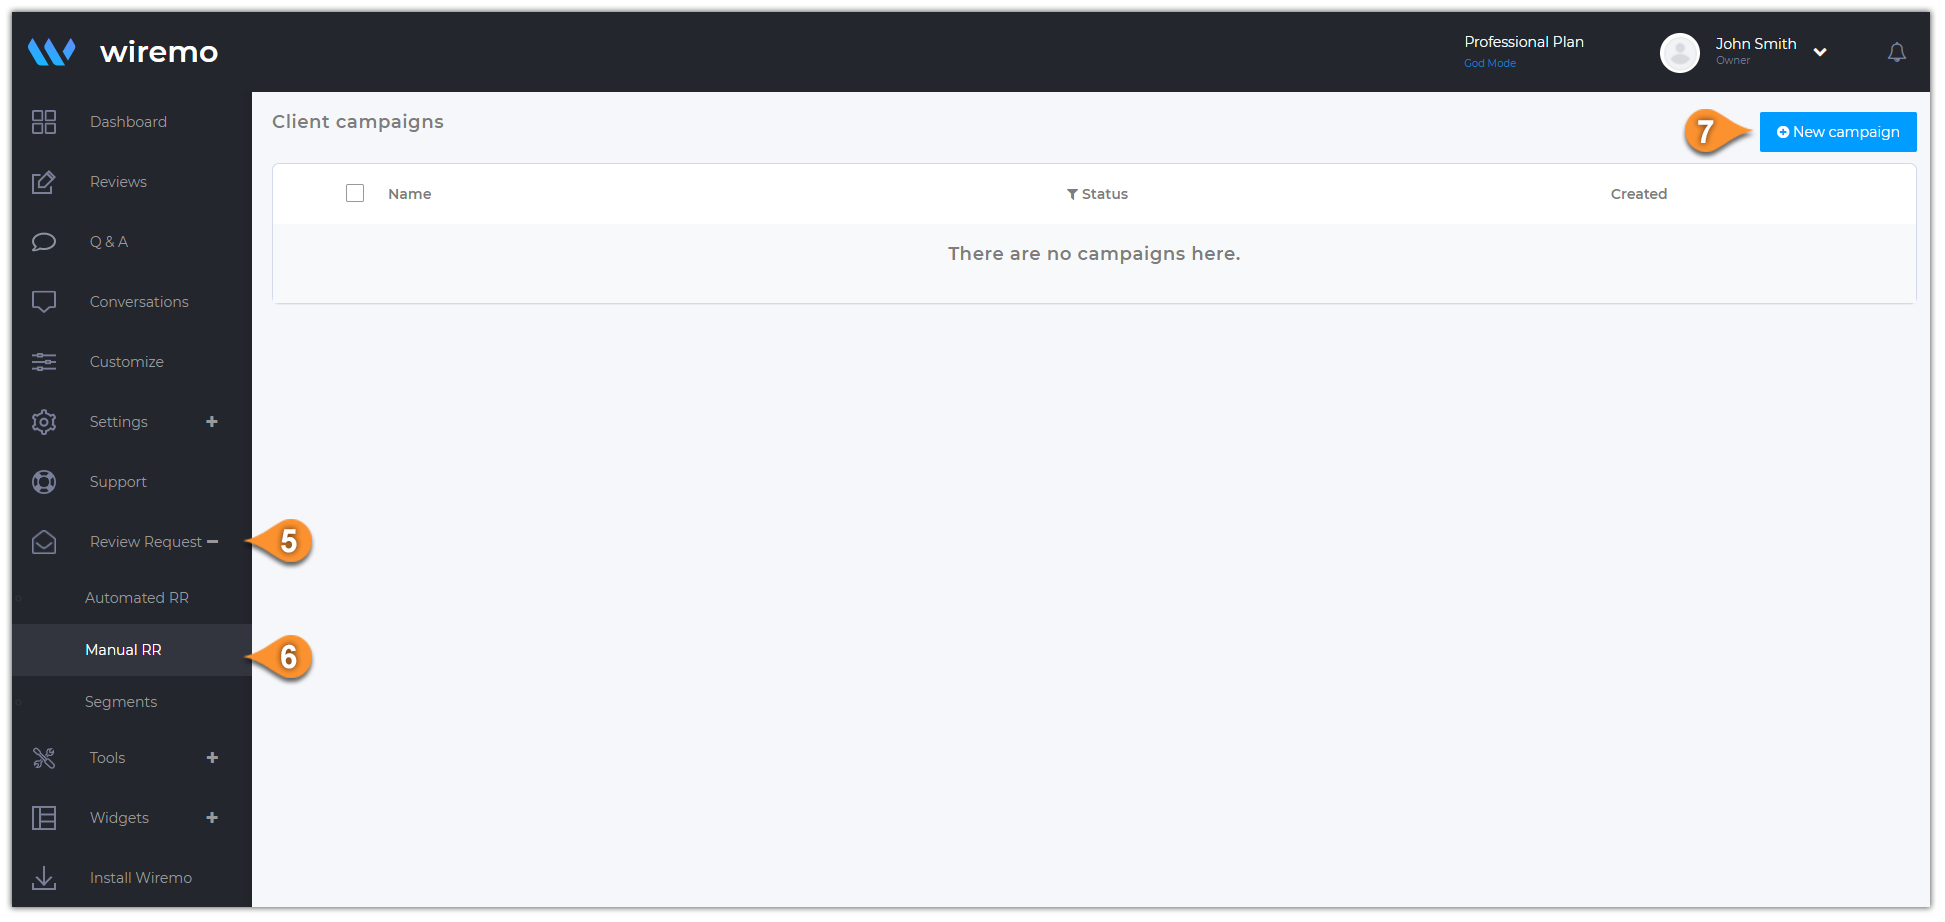
1. Click again on "Review Request" (pin 5) in your dashboard main menu and select "Manual RR" (pin 6). Then click on the "New campaign" button (pin 7).
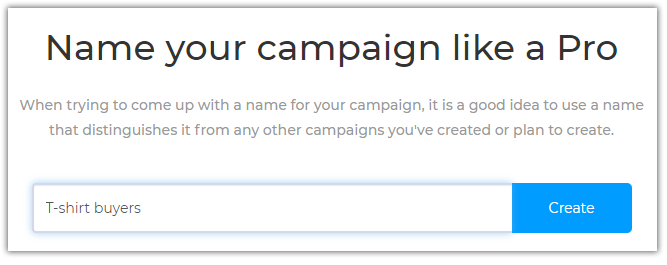
2. Type a name for your new *MRR campaign. We recommend you use a name that distinguishes it from any other. For example "T-shirt buyers".
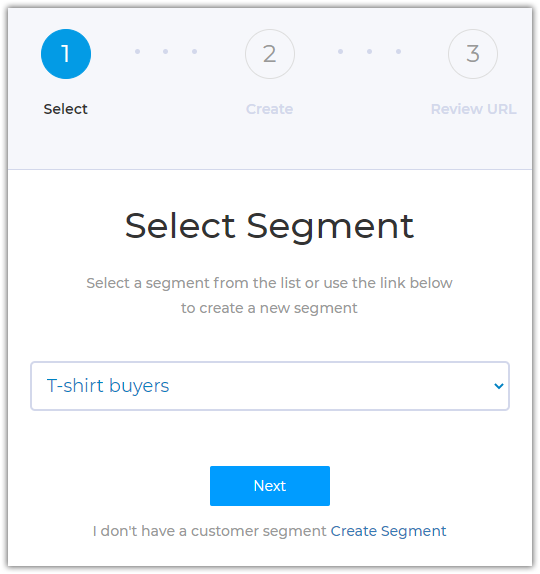
3. Once your campaign is created, you have 3 steps to set up before starting to ask customers for reviews. On the first step, you need to select your email segment.
4. On the second, and probably most important, step, you can customize your email for the review request. We designed this step to make it a child’s play.
- You can easily edit the email address (You should avoid using public domains for the "from" email field. Using a private domain provides easy identification to your customers), name and email subject (pin 8).
- There is also a default blue header line. You can change the color by clicking on the blue square (pin 10).
- You can upload your logo or any other image so your email will be friendlier and more eye-catching (pin 11).
- We've prepared a template text for you, but you can edit it as you like (pin 12 and pin 13).
- And, of course, the stars, just click on them to edit stars color, size and style ( full or stroke) (pin 14).
After customizing, you can check your result in preview mode or by sending a test email. Once you're done press the "Save" button.
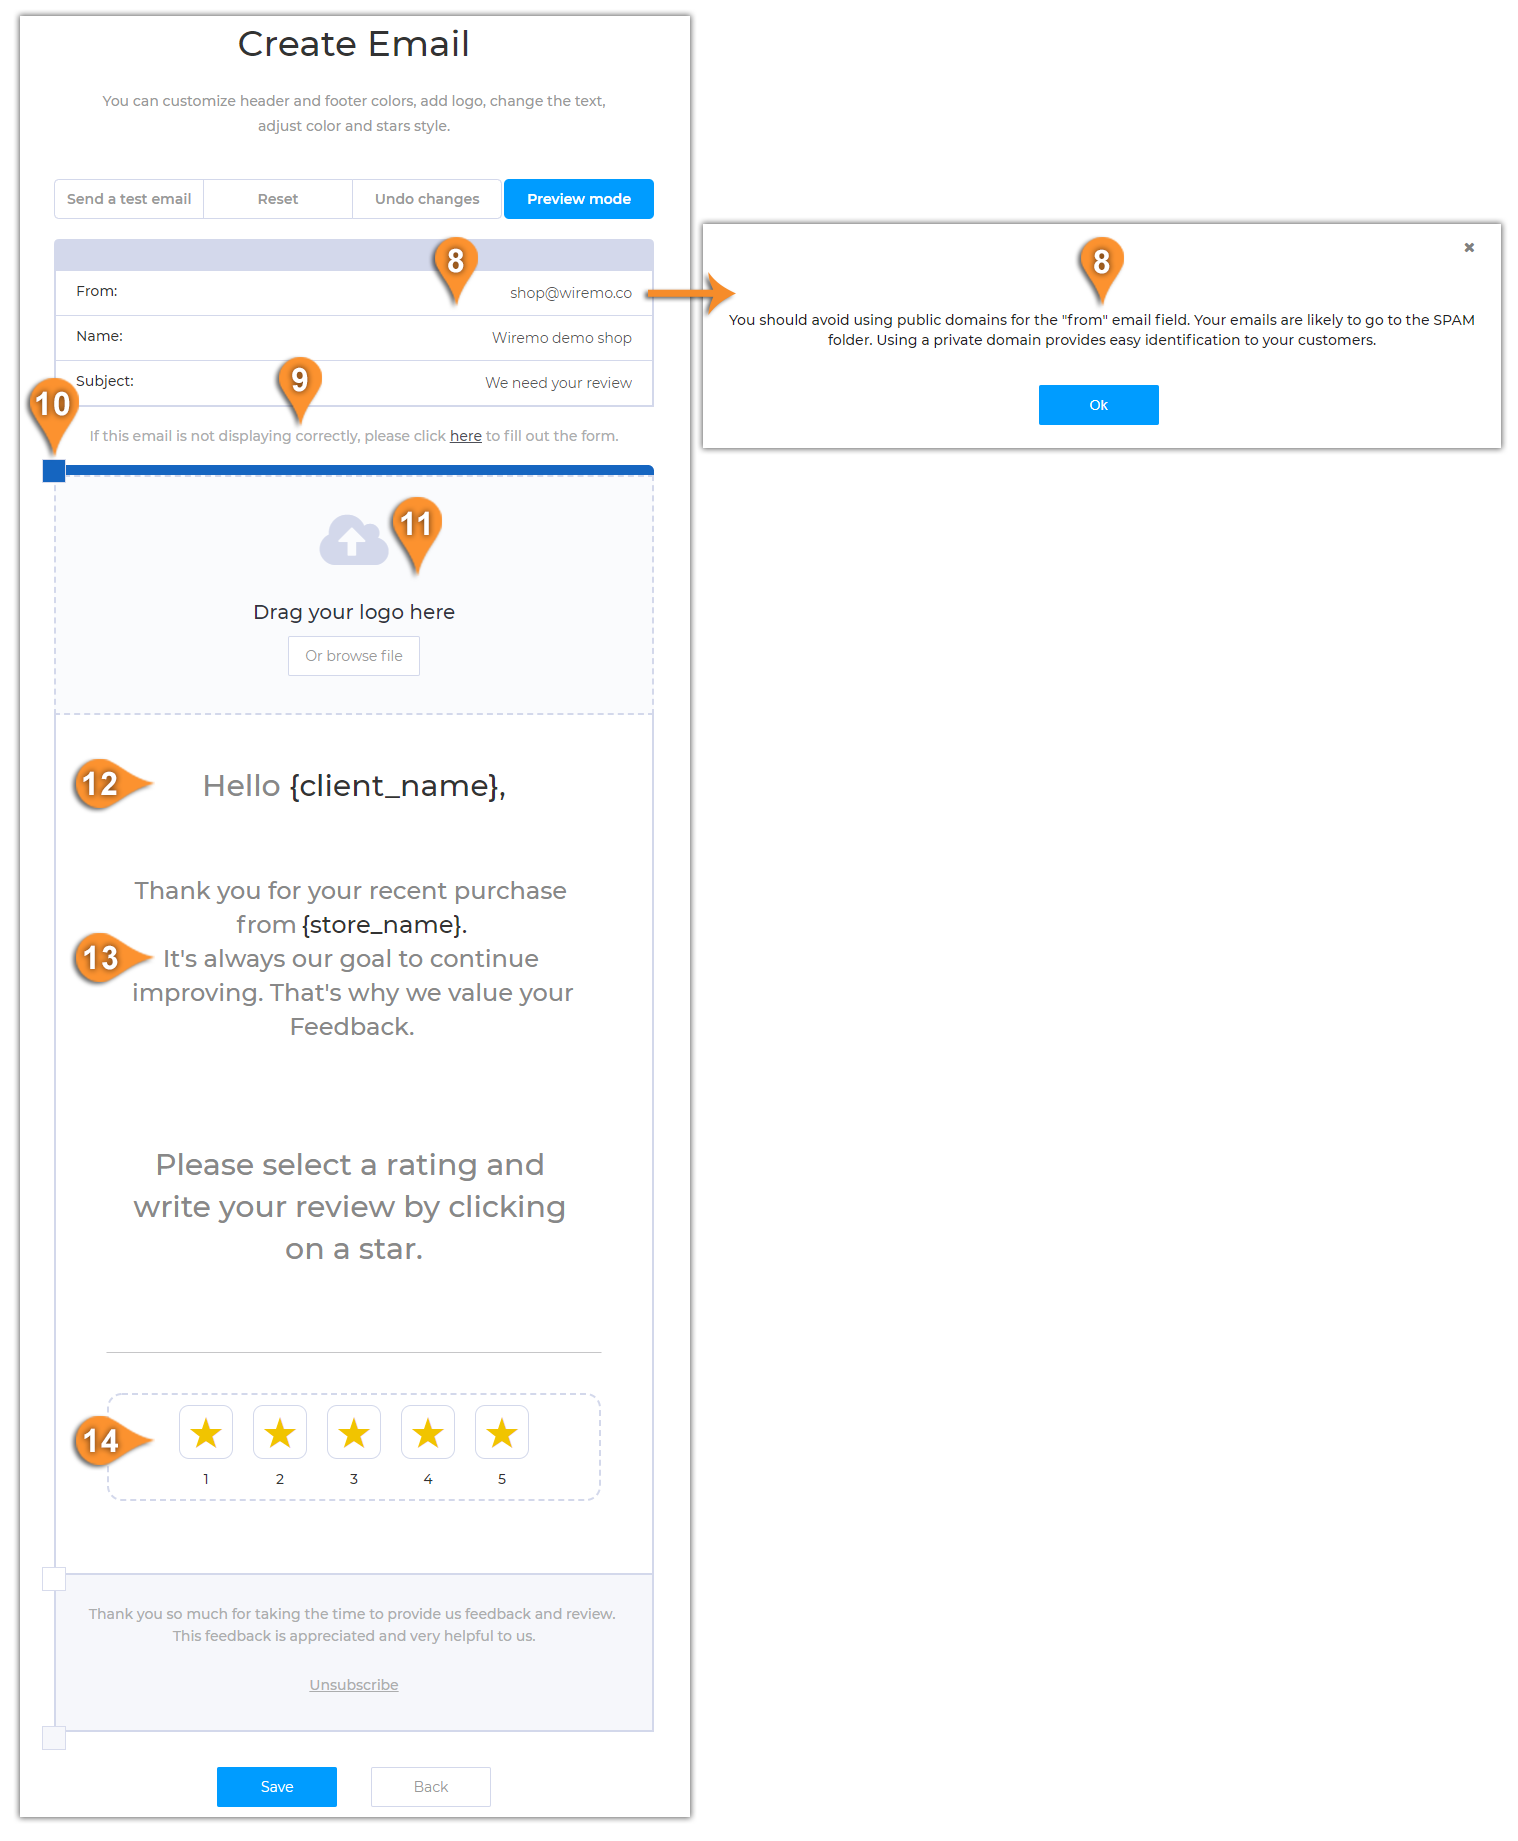
5. As you can see in the preview screen, there if special messages at the top of the email template (pin 9) - "If this email is not displaying correctly, please click here to fill out the form" - in case the email client doesn't display the email form correctly, the link will redirect your customer to a landing with Wiremo review form to write the review.

6. This message can also be edited as other template elements. To start edit just press on the text and start editing. Please note that to insert the link just select the desired text or word and simply press the link icon in the edit menu.

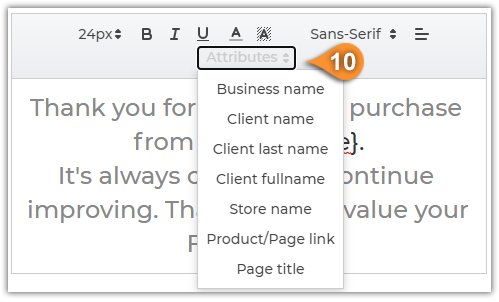
7. Also, we've added some special attributes (pin 15). You can use the customer's name to be more friendly. Here is the full list of attributes:
- Client Name
- Client Last Name
- Client Full Name
- Store Name - "Business name" from Customize -> App configuration.
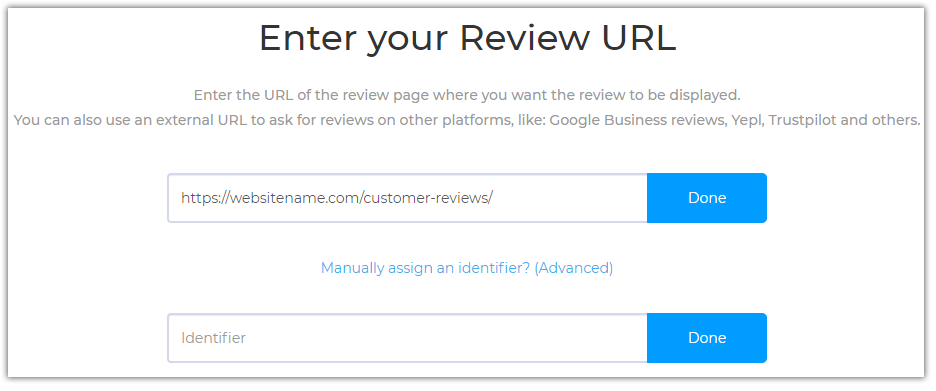
8. Once your email is adjusted and you like it, you'll have to enter the URL of your customer reviews page, the page where you have installed the widget and you want the reviews to appear on that page or click on "Manually assign an identifier? (advanced)" to insert the identifier of the page where you want your reviews to be displayed.
Note: You can add an external link to the review page. For example you can add a link to forward your customers to review your business on Google, Facebook or Yelp.
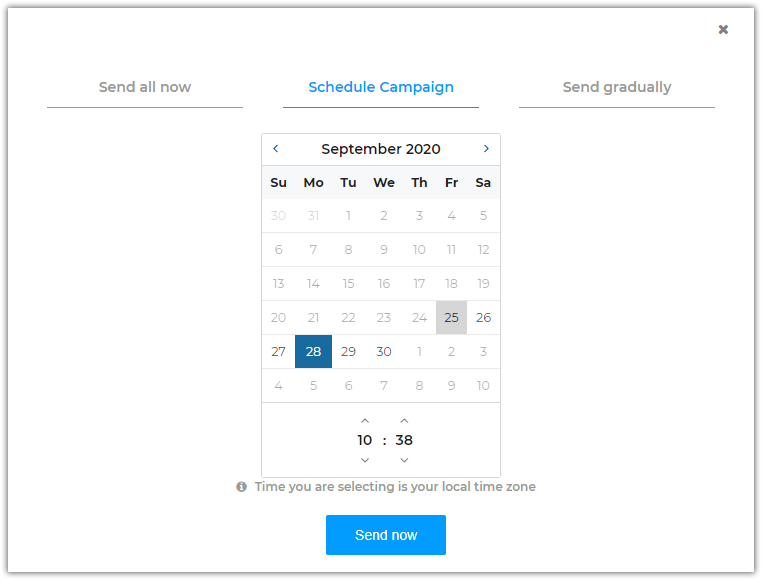
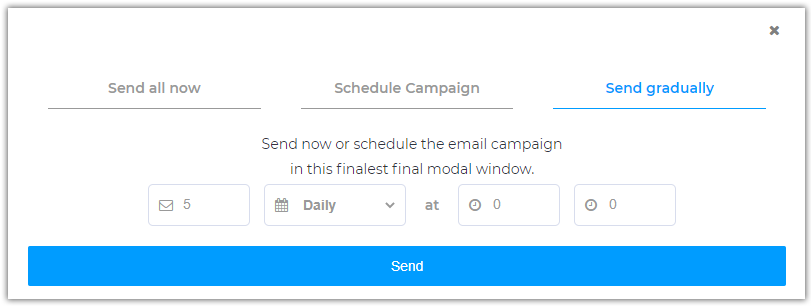
9. After clicking "Done," you will be asked when to start your campaign: Send now, Schedule Campaign, or Send gradually.
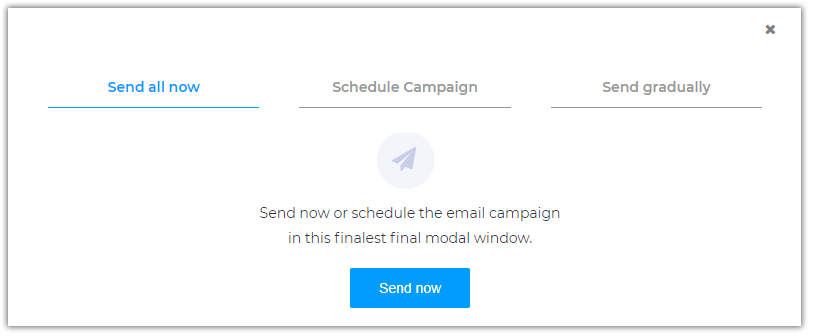
10. If you want to schedule your campaign, then you'll have to choose the date and time of campaign initiation.
11. If you want to send out your campaign gradually, you will need to choose the number of emails to be sent daily or weekly and at what time to start the campaign.
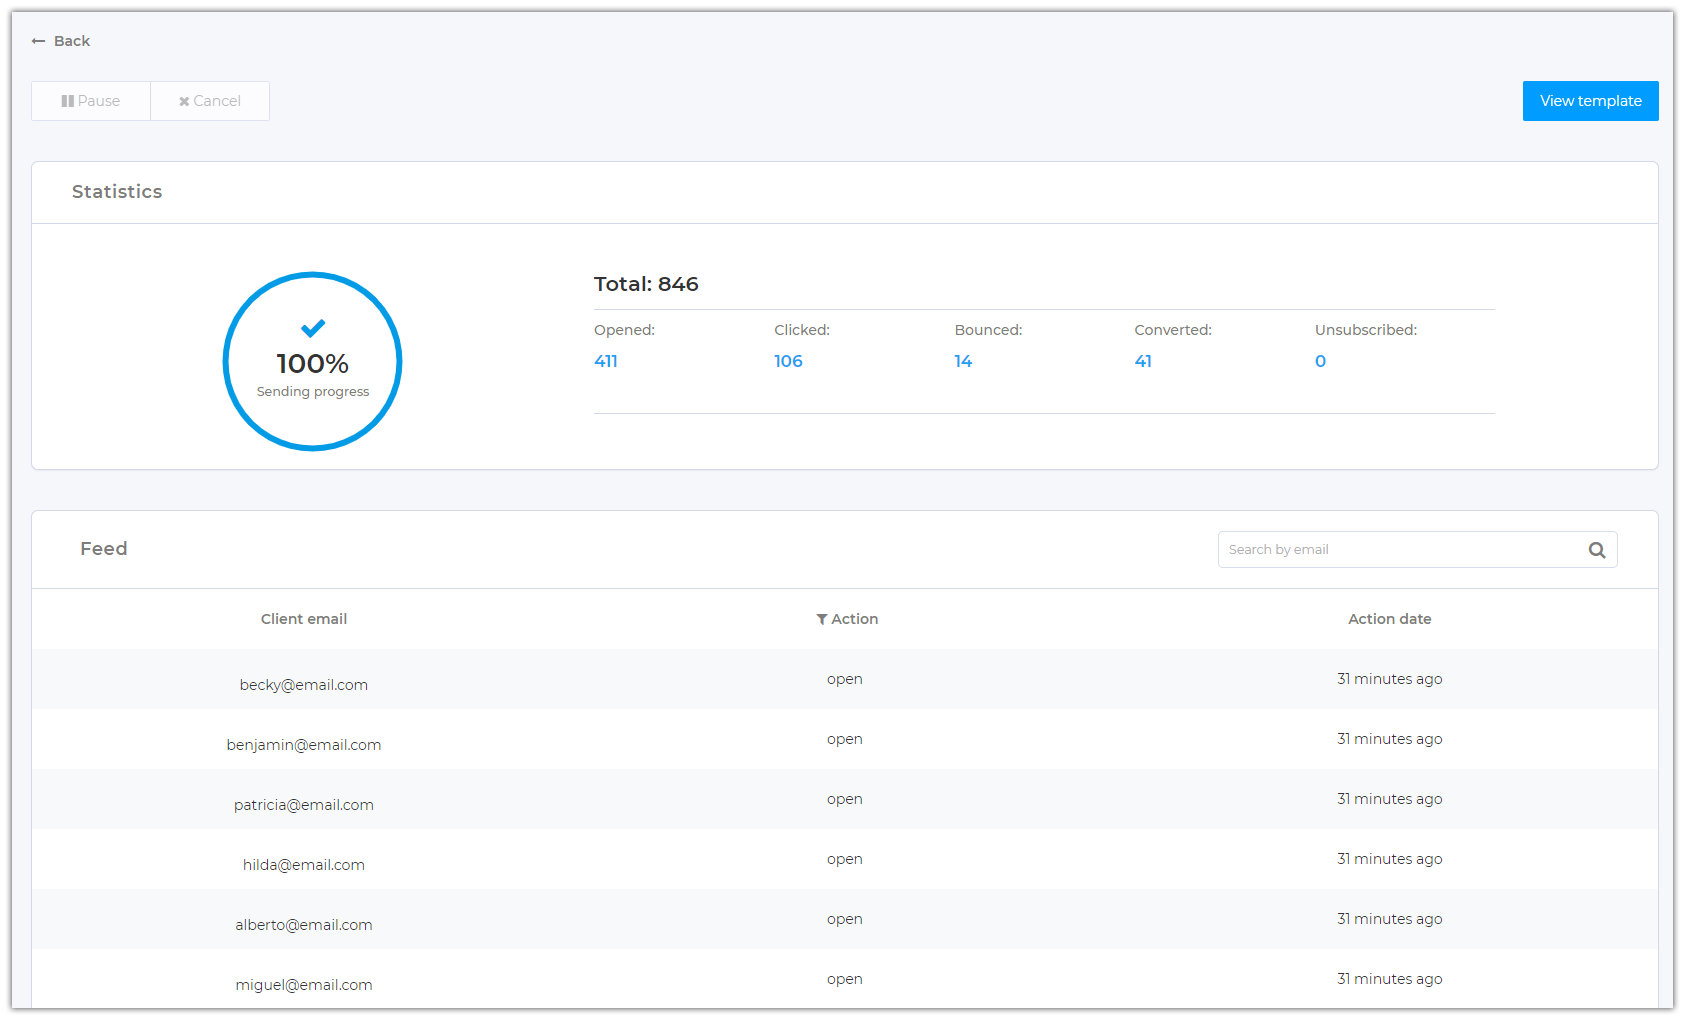
12. If you select “Send Now,” your *MRR campaign will start instantly. You can always pause or cancel your campaign. And, of course, we have campaign statistics that are user-friendly and easy to understand.
You're done! Thank you for choosing Wiremo!

